The debate over whether wounds should be exposed to air or kept covered in a moist environment is rooted in historical beliefs about the benefits of air and the origins of disease.
Choosing the best environment plays a critical role in their recovery and well-being. This decision impacts healing speed, infection risk, and the horse’s comfort throughout the process.
By examining the benefits and considerations of both approaches, we can determine the most effective method to ensure optimal wound healing outcomes for these animals.
Benefits of a Moist Environment
- Enhanced cell growth and tissue formation
- Reduced pain and discomfort
- Lower infection rates
Drawbacks of a Dry Environment
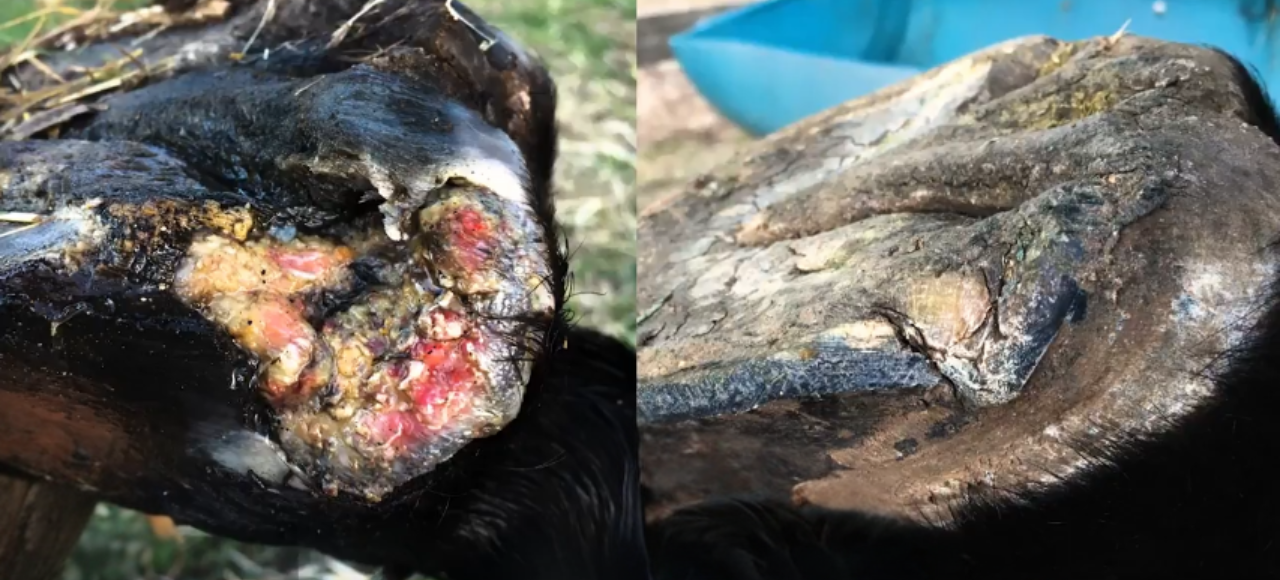
- Delayed healing process
- Increased risk of scab formation and potential complications
- Higher likelihood of pain and discomfort for the patient
Research
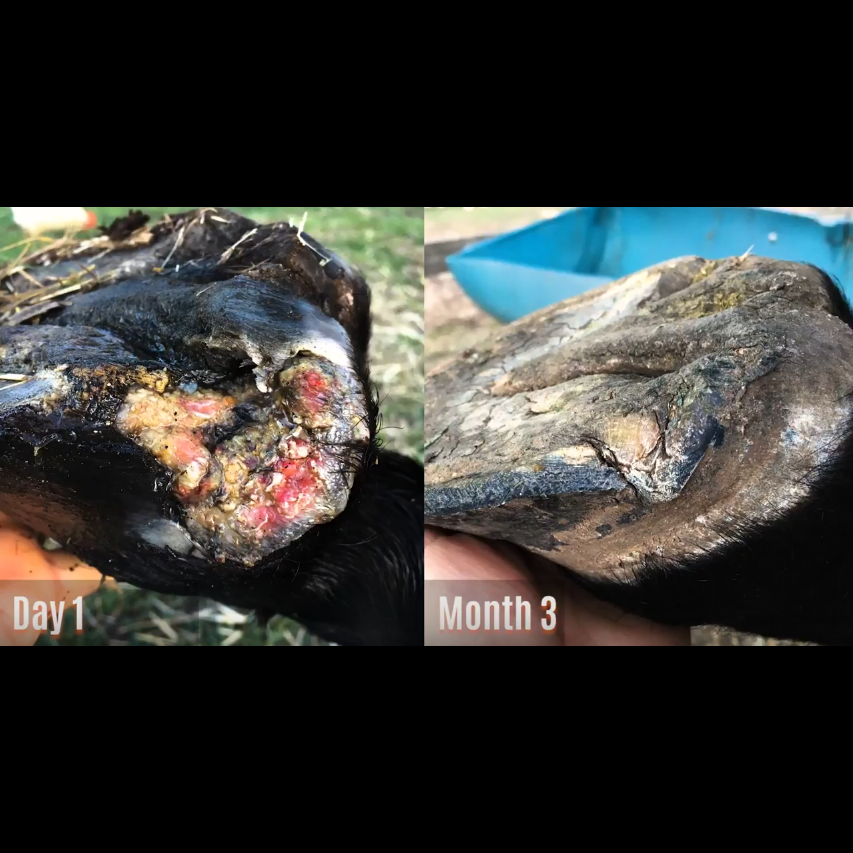
While air is essential for living tissue, the notion that wounds heal better when exposed to air has been disproven by research. Studies, such as George Winter’s work in 1962, have shown that wounds heal more effectively in a moist environment due to factors like improved cell growth, faster tissue formation, reduced pain, and lower infection rates compared to dry environments.
Things to consider
For a wound to heal well, there are all sorts of things to consider, such as:
- Temperature – it’s not good for a wound to get too hot or too cold
- Hydration – moisture helps cells grow, and helps speed up the formation of new tissue
- pH – it’s not good for a wound to be too acidic, or too alkaline
- The presence of microbes (bacteria, and such)
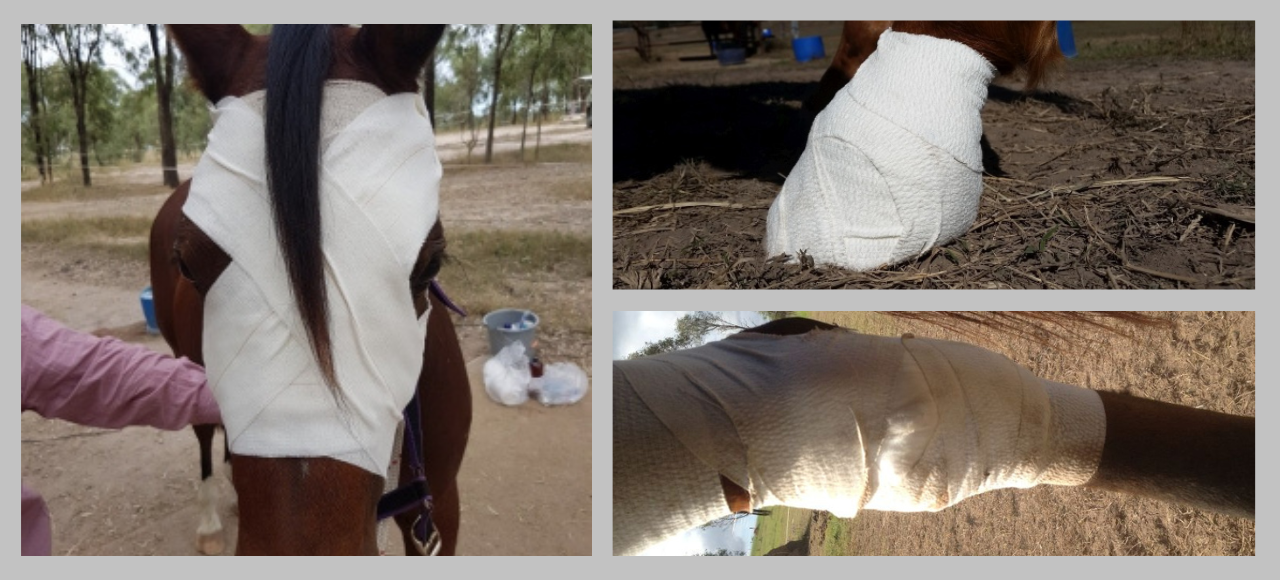
To learn the bandaging strategies for horse wounds, read the article “Equine First Aid: Bandaging Strategies for Horse Wounds”
It’s advisable to work with your veterinarian when seeking to promote faster healing in a horse’s wound.
CONCLUSION
Despite concerns about bacterial growth in moist conditions, evidence suggests that moist dressings actually promote the body’s natural defenses and result in better overall healing outcomes. Therefore, rather than focusing on exposing wounds to air, maintaining a protective, moist environment is recommended for optimal wound healing in horses.
Further reading:
Should Healing Wounds Be Moist or Dry? – David Ramey, DVM (doctorramey.com)
Equine First Aid: Bandaging Strategies for Horse Wounds – My Horse Supplies
Equine First Aid: Handling Level 3 Wounds in Horses – My Horse Supplies